webGPU实现游戏中的绿植和随风摆动效果
前段时间看国外大神Bruno Simon在他的开发播客中分享的他新3D网站的开发过程,其中提到了在three.js中用webGPU实现绿植的方法,感觉还比较简单实用,于是动手按照他提到的方法实现了一下,现在分享出来,希望对你也有所帮助。
创建几何体
首先创建绿植的几何体,创建一些平面几何体让它们在一个球面上随机分布:
const planes: THREE.PlaneGeometry[] = [];
for (let i = 0; i < count; i++) {
  const plane = new THREE.PlaneGeometry(1, 1);
  planes.push(plane);
  const spherical = new THREE.Spherical(
    1 - Math.pow(Math.random(), 3),
    Math.PI * 2 * Math.random(),
    Math.PI * Math.random()
  );
  const position = new THREE.Vector3().setFromSpherical(spherical);
  plane.rotateX(Math.random() * 9999);
  plane.rotateY(Math.random() * 9999);
  plane.rotateZ(Math.random() * 9999);
  plane.translate(position.x, position.y, position.z);
}
修改法线
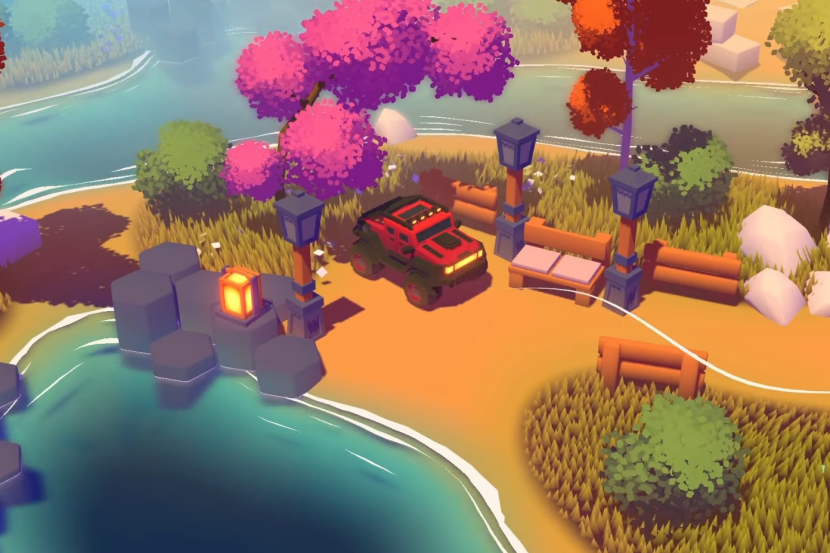
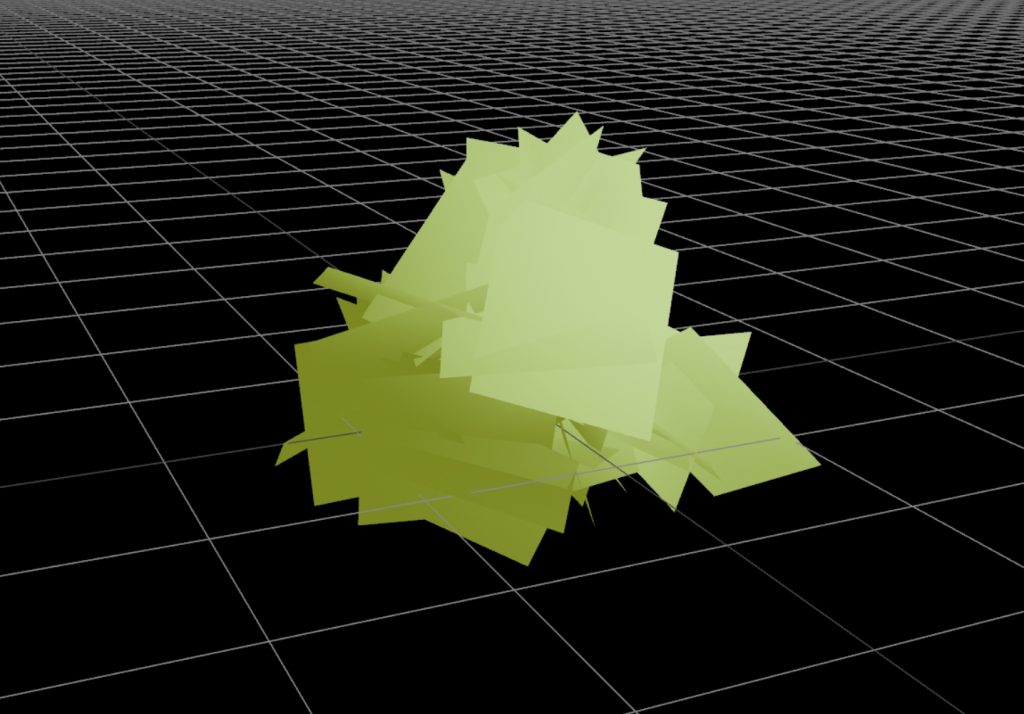
我们先来看看现在这些平面体顶点的法线分布:
现在每个平面上顶点的法线normal都是垂直于平面的,如果要让这些平面作为一个整体来渲染,就需要重新计算法线。
// 重新计算normal
const normal = position.clone().normalize();
const normalArray = new Float32Array(12);
for (let i = 0; i < 4; i++) {
  const i3 = i * 3;
  const position = new THREE.Vector3(
    plane.attributes.position.array[i3],
    plane.attributes.position.array[i3 + 1],
    plane.attributes.position.array[i3 + 2]
  );

  const mixedNormal = position.lerp(normal, 0.4);
  normalArray[i3] = mixedNormal.x;
  normalArray[i3 + 1] = mixedNormal.y;
  normalArray[i3 + 2] = mixedNormal.z;
}
plane.setAttribute("normal", new THREE.BufferAttribute(normalArray, 3));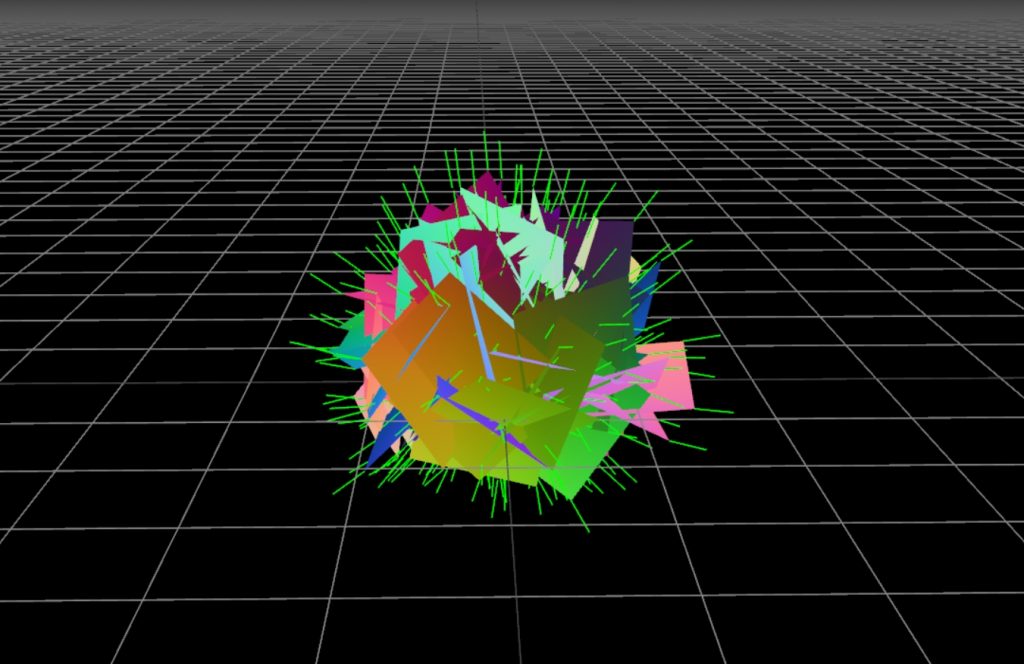
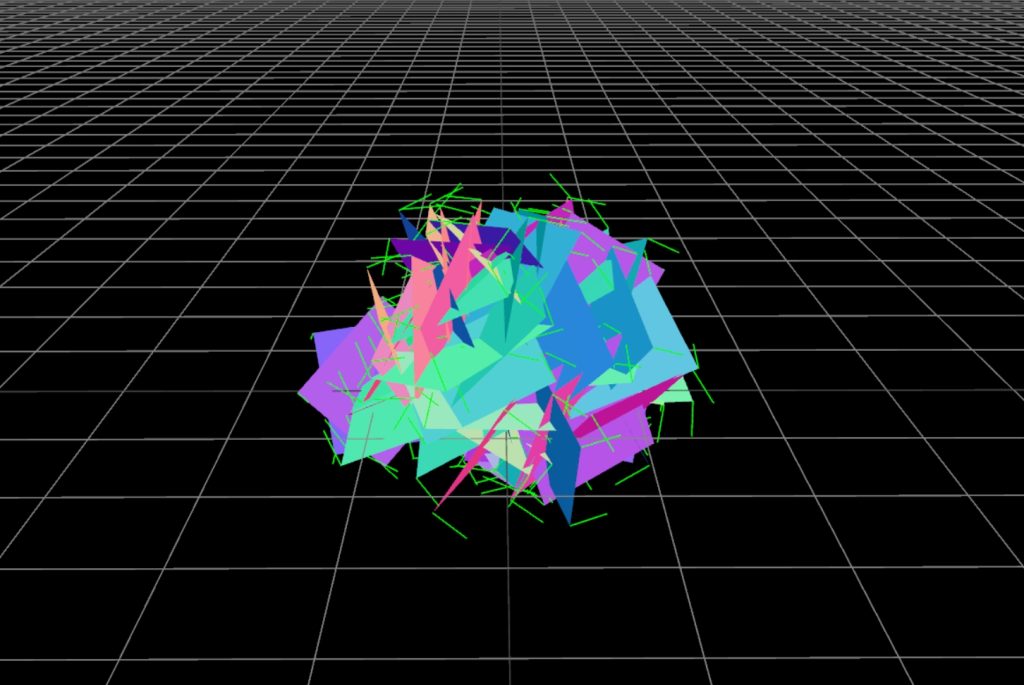
合并几何体并贴图
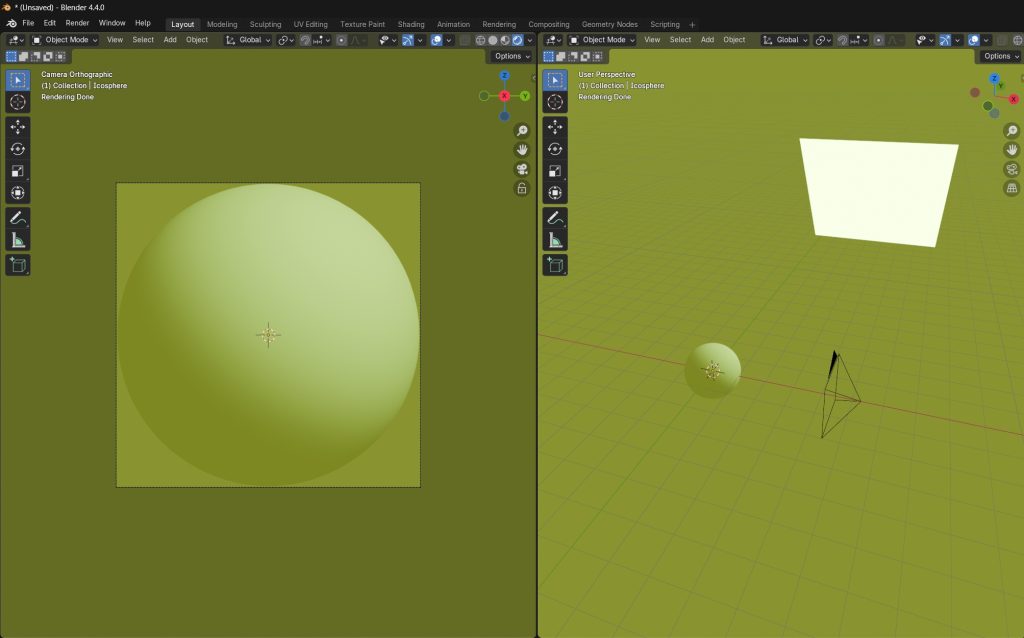
通过对平面的四个顶点做线性插值我们可以得到一个近似正确的normal,然后我们给他加上一个matcap材质,这个材质可以在blender里用正交相机渲染出来。
现在渲染出来的效果基本上达到了我们的需求
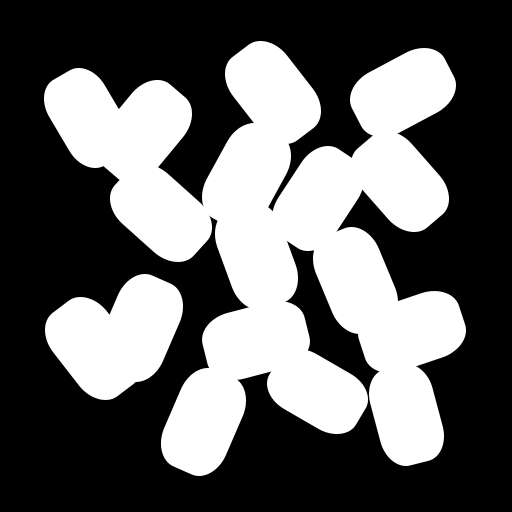
为了让它更像是绿植,我们需要制作一张alpha贴图让这些平面渲染出叶子的形状,可以根据自己的需求来制作,我这里就是放了一些拉伸的圆角矩形。
const matcap = new THREE.TextureLoader().load("assets/matcap.png");
const alphaMap = new THREE.TextureLoader().load("assets/alpha.png");
const material = new THREE.MeshMatcapNodeMaterial({
matcap: matcap,
alphaTest: 0.1,
alphaMap,
});
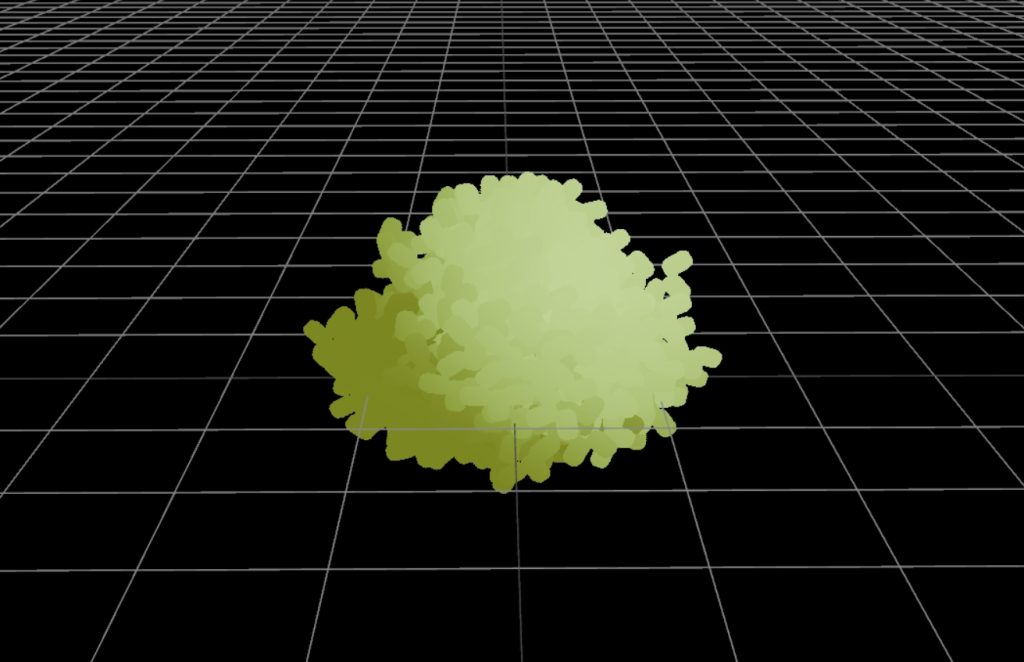
let geometry = BufferGeometryUtils.mergeGeometries(planes);
const mesh = new THREE.Mesh(geometry, material);将这些平面合并成 一个mesh并贴图,最终我们得到了这样的一个结果。
随风摆动动画
以往实现这种简单顶点动画需要在shader里写许多代码,TSL的出现极大的简化了这个工作量,只需要几行代码就能搞定。TSL是Three.js Shading Language的缩写,写一次代码就可以自动编译成GLSL或webGPU的WGSL语言。
const perlinUv = mod(positionWorld.xz.mul(0.2).add(sin(time.mul(0.05))), 1);
const perlinColor = texture(perlinTexture, perlinUv).sub(0.5).mul(positionWorld.y);
material.positionNode = positionLocal.add(
  vec3(perlinColor.r, 0, perlinColor.r)
);
可以看到只需要几行简单的代码就实现了一个比较自然的随风摆动动画,为了让摆动的动画更加随机和自然,这里用到了一张柏林噪声图,在噪声图上采样数据来改变顶点的xz坐标。
最后为了性能最优化,我们可以用instanedMesh在场景里渲染更多的绿植。